

Here’s what you’ll need to set it up once as a user of Squirrly Social.
Open Zapier
Zapier makes it easy for apps to get integrated with one another. You’ll be able to send posts from your WP site as soon as they’re published. You’ll be able to click a button and send any page you’re on to your social media profiles in a Flash… and a lot more.
You just need to register for a Free account first, if you don’t already have one.
You can log in with Google or create a new account.

Choose your company name and your role. You can also choose the apps you are using.
Click finish setup when you are done.

You’ve been invited to join Squirrly Social on Zapier.
Click: Accept Invite & Build a Zap

You’re redirected to the Zapier dashboard. Click the Make a Zap! button

Choose the RSS by Zapier Trigger App

Select: New Item in Feed. Click Save + Continue

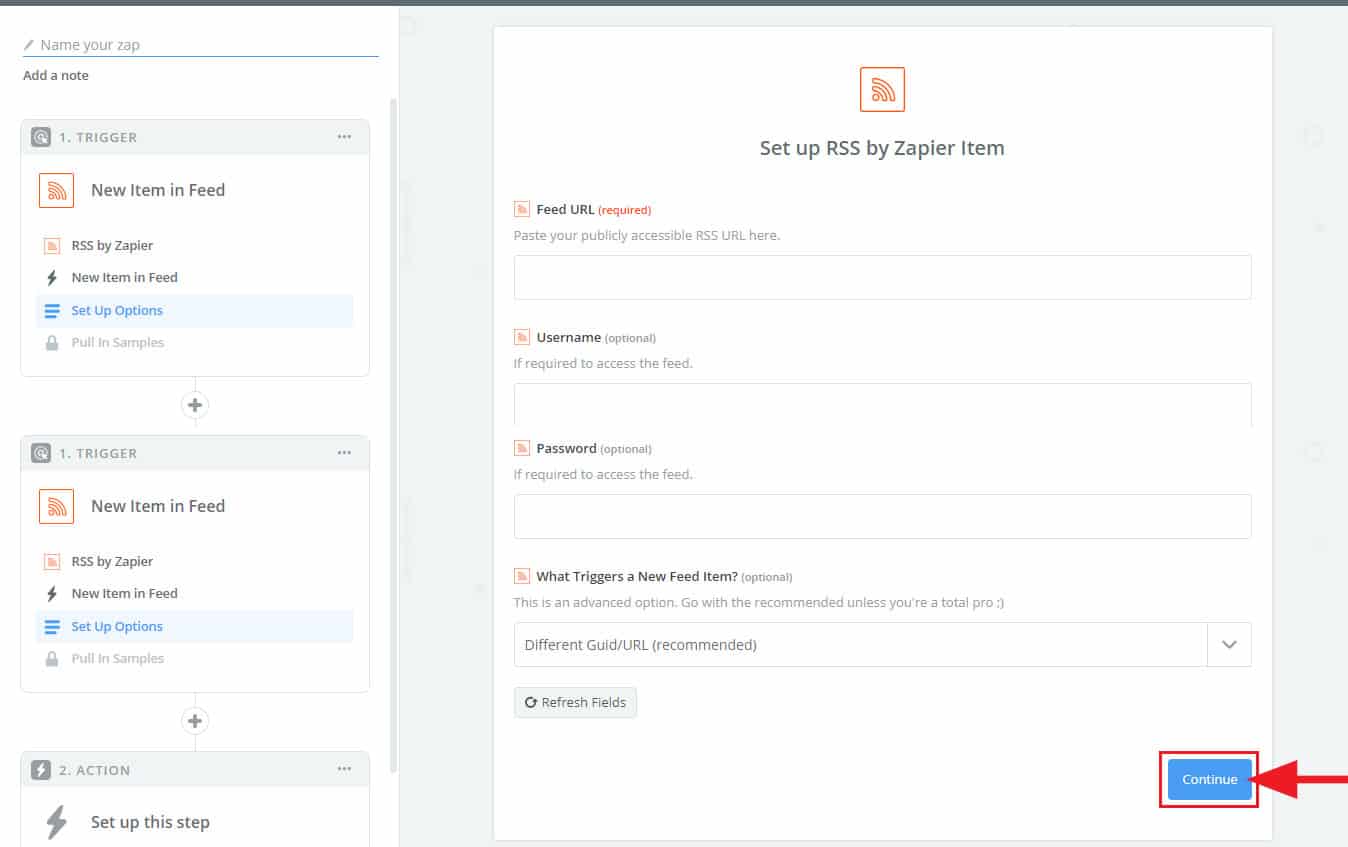
Paste in the first field the URL to your WordPress site’s feed. You can find it by adding /feed to the end of your URL.


For connecting your WordPress site directly to Social Squirrly, the rest of the fields in the Zapier form are not important. Just click Continue
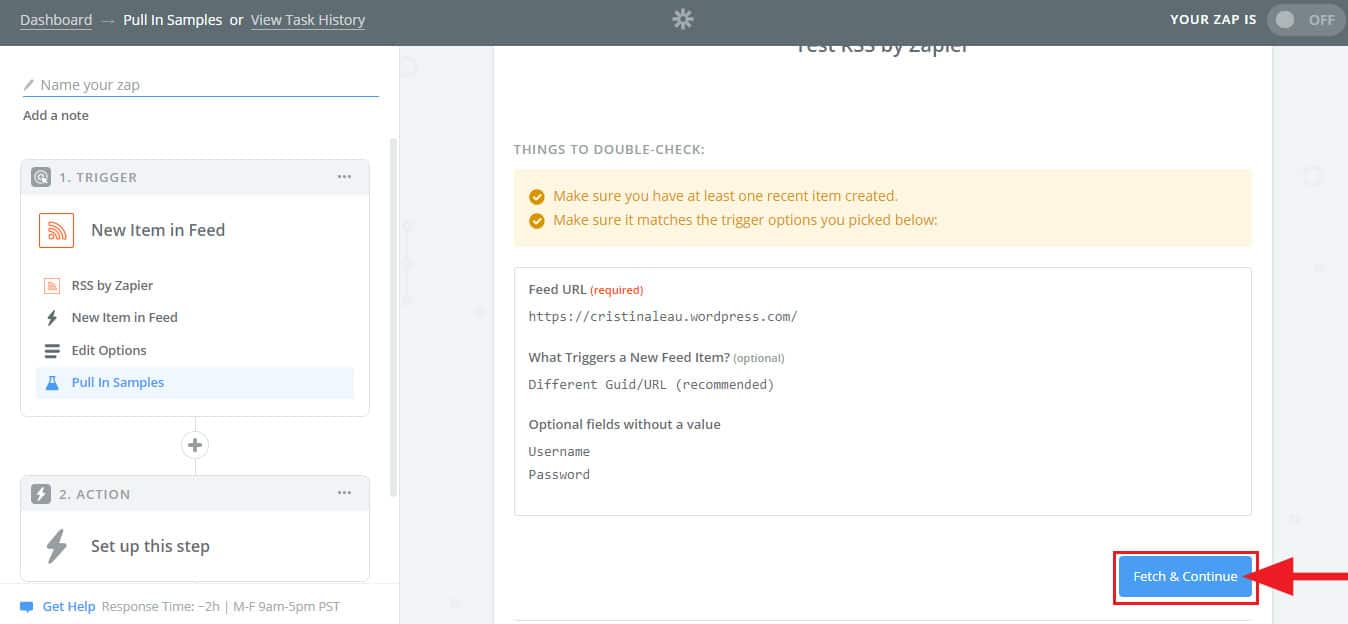
Check the data and then click Fetch & Continue
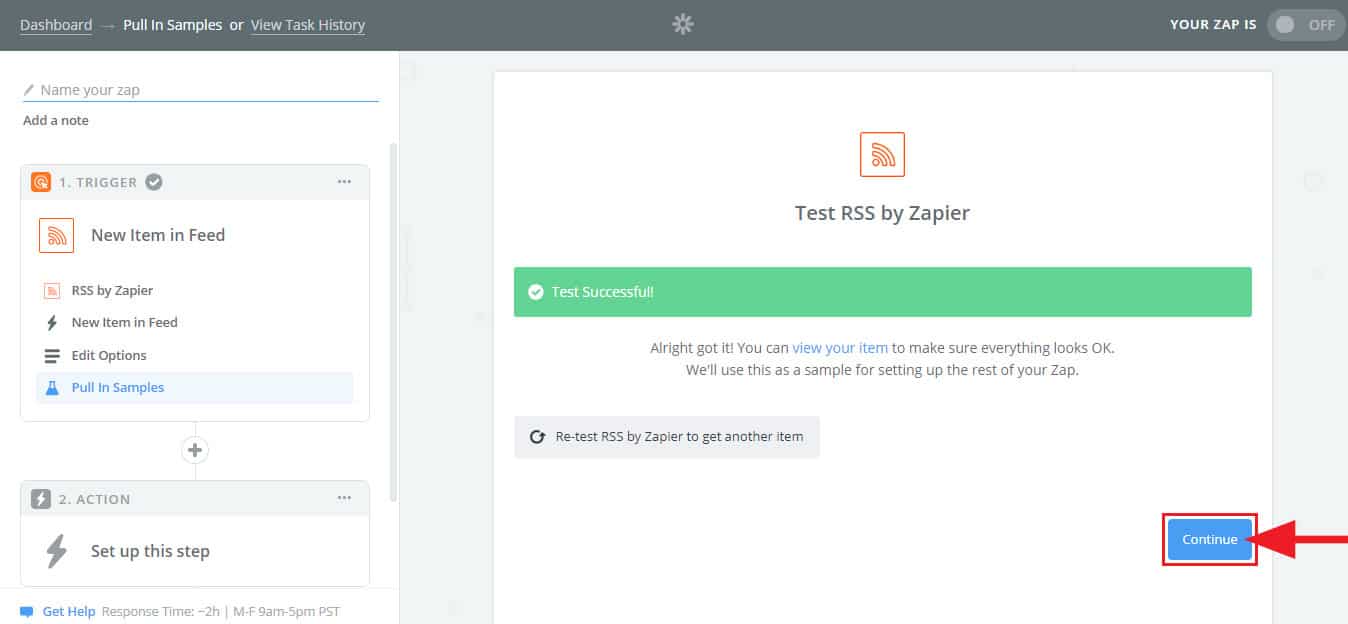
Test is successful, click Continue.
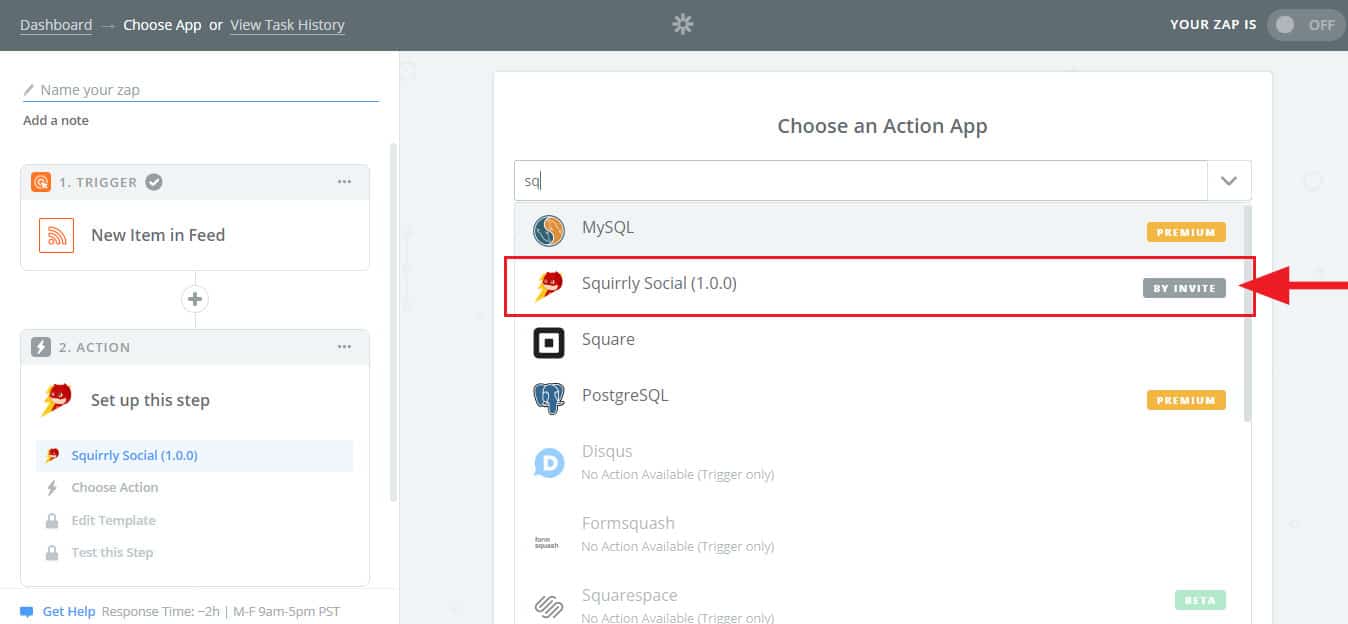
Choose an Action App. Search for Squirrly Social.
Select Add Post to Planner. Click Save + Continue

Click Connect. A pop-up will show up


In a new window, open your Squirrly Social account. Go to your Settings and click on the API Section.

Write a Token Name and then click Create

Copy the code and paste it in Zapier. Click Yes, Continue


Click Save and Continue

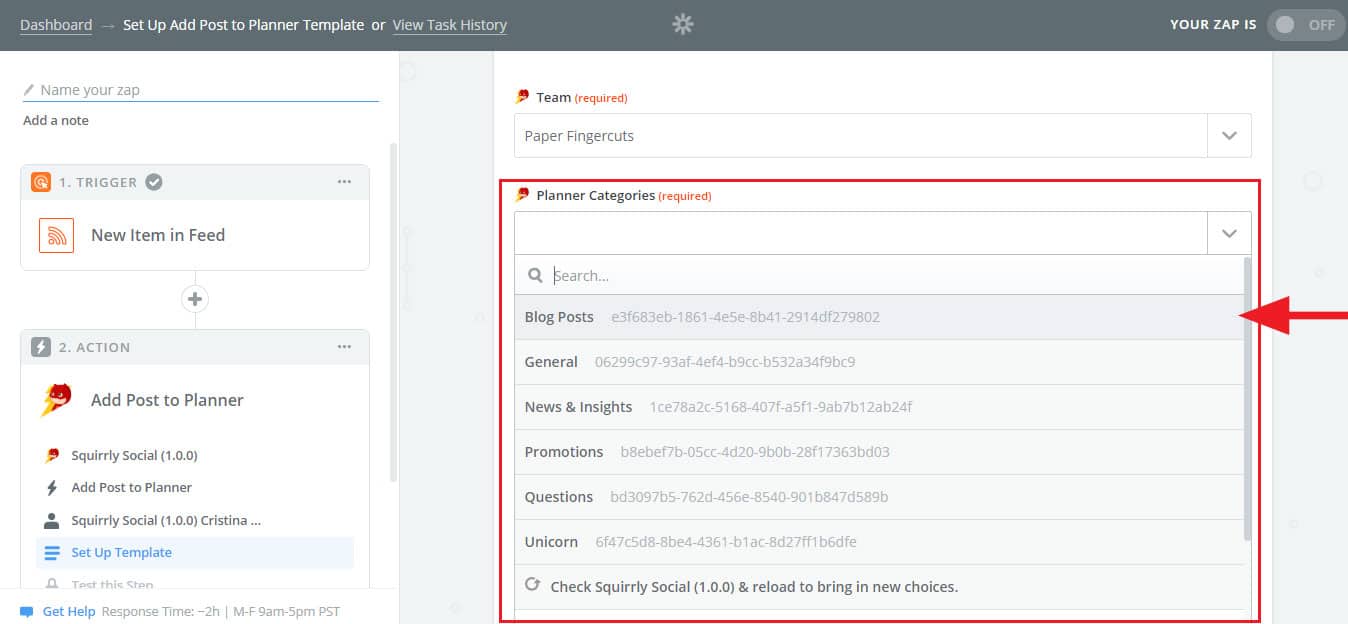
Select where to publish inside your Squirrly Social Account.

Team: here you select the brand to which you want your WordPress posts to go.

Planner Categories: choose the planner category you’ll want this to go to.
Remember: that’s where you say to which profiles and at which hours the messages need to go out.
Status: Select Approved if you want any new WordPress post to go Directly into your Social Media profiles, without any manual actions and further clicks. This fully automates the process.

Text: Here you will do the following. There’s a “insert a field” button to the right of this input section. Click it.
Select Title.

Hit the pause button to create a space between the title of your blog post and the next element. Click “insert a field” again.
Select LINK.
This will send messages eg. “10 Awesome Ideas http://awesome.com”

You’re done here!
Now select Continue

Send test to Squirrly Social.
This will help you see that the latest WordPress post gets sent directly into the Scheduled Section of Squirrly Social.

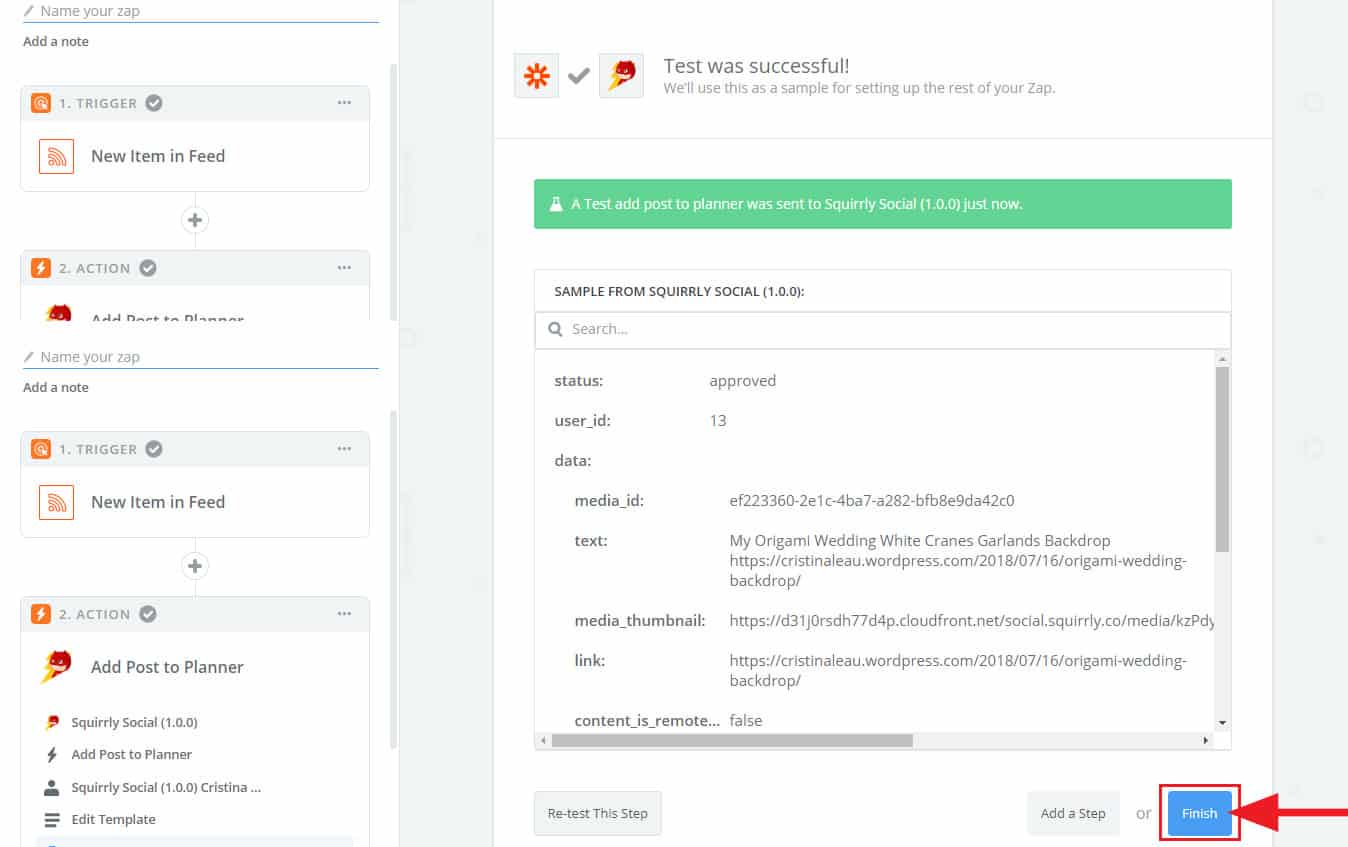
Finish. Name your Zap and then turn the Switch to ON

Now your setup is 100% Complete.
